The Creation of Dream Air
I am Metsa, a resident artist here in TierraMitica. I have been doing murals and sculptures for a couple of years now. Art is my passion, and lately I have started to work together with other artists and total novices on different art projects. Collective art, to move away from doing everything myself and become one with one or more people in creating something together. A new movement that is flourishing here.
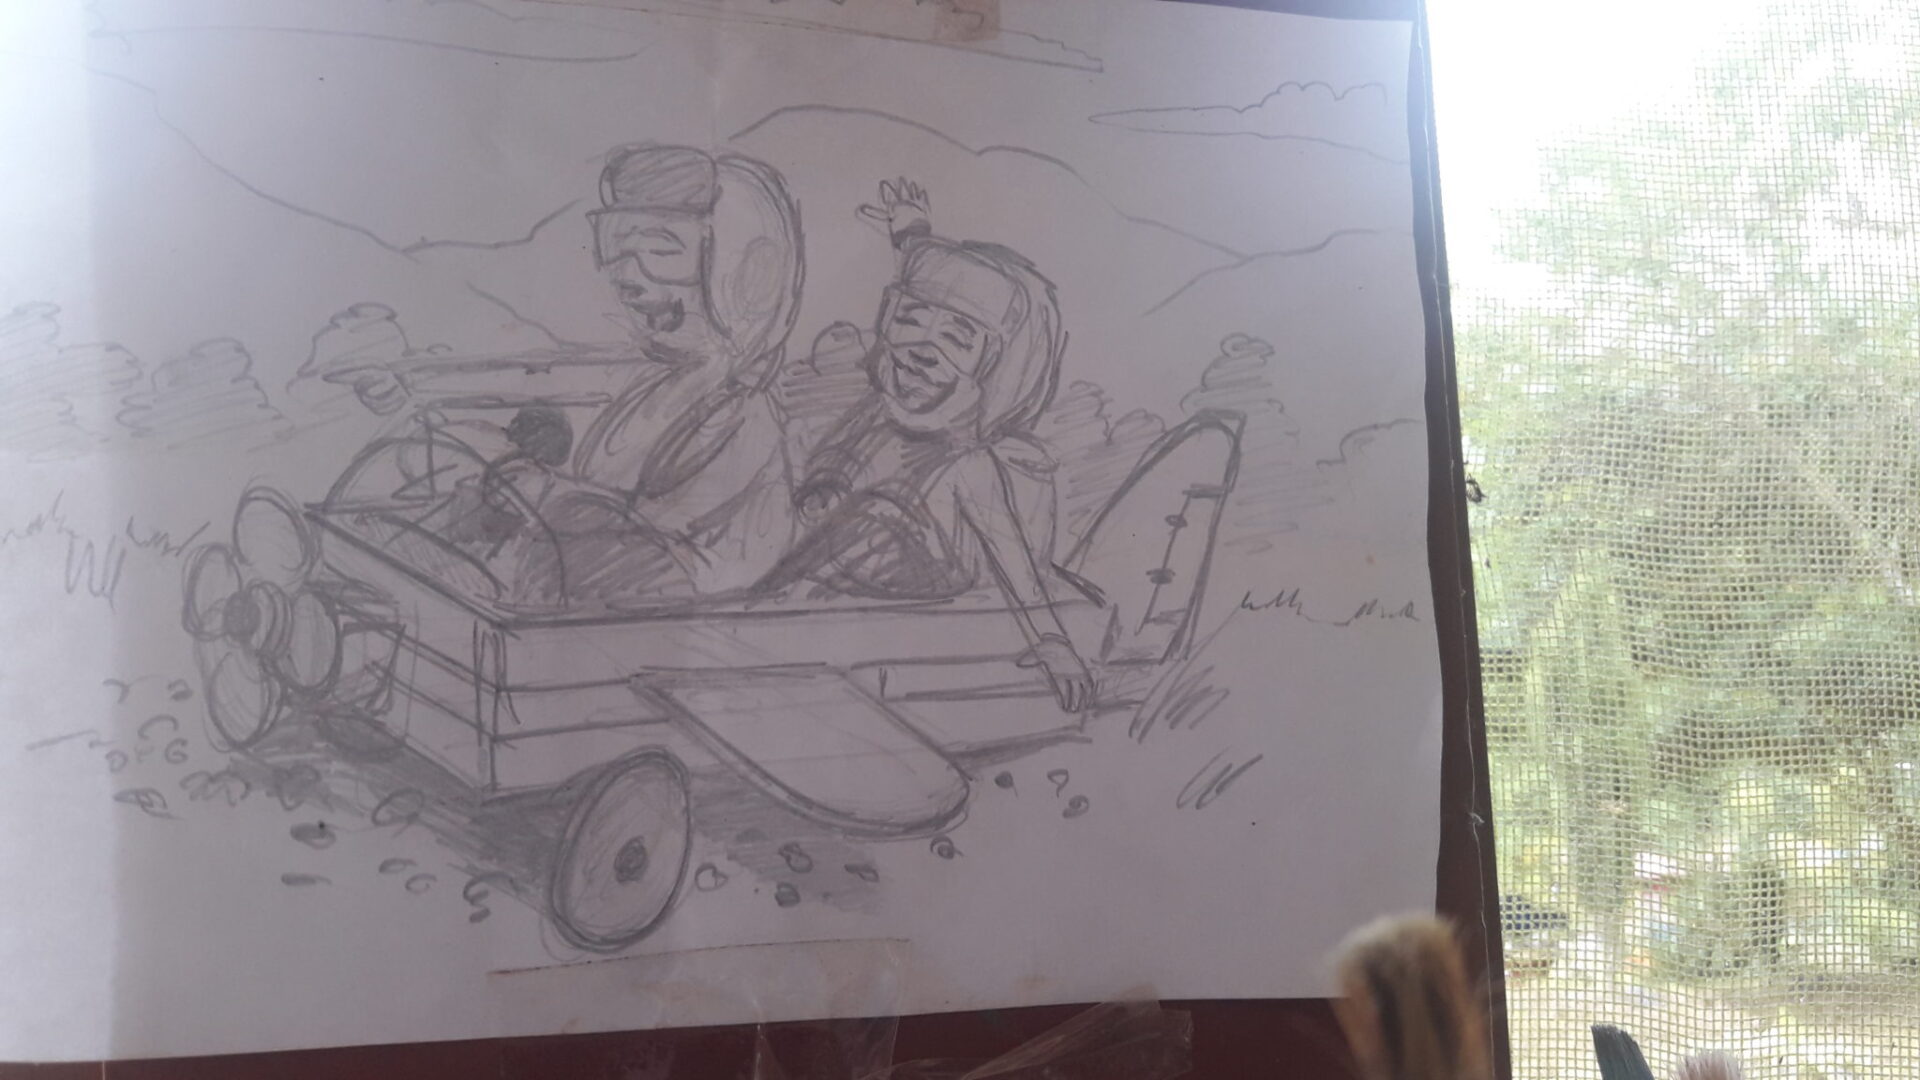
One day we talked around the oval table amongst TierraMiticans about who wanted to do some statues for our new retreat center area. We have just built two new supercool colorful bungalows that we named Bubblegum and Lollipop. Me and my girlfriend Caroline looked at each other, nodded heads, felt inspired and volunteered. The theme of this area was going to be playful kids and childhood. First we thought to make little kids dressed out as a king and a queen, then we thought of doing them as super heroes in various poses. What was clear was, that it was going to be ourselves as kids. We played with many ideas, until we both fell in love with the “home built air plane idea” with seats for our inner children to play. Playing and enjoying the same toy flying out for an adventure! It really made me feel, and I was super exited to get going right away. I usually like to find inspirational pictures from the internet so I can put together a mood board and print some things out to have on the wall in front of the workstation, look at them, feel them, and then steal all the things about them that are cool.
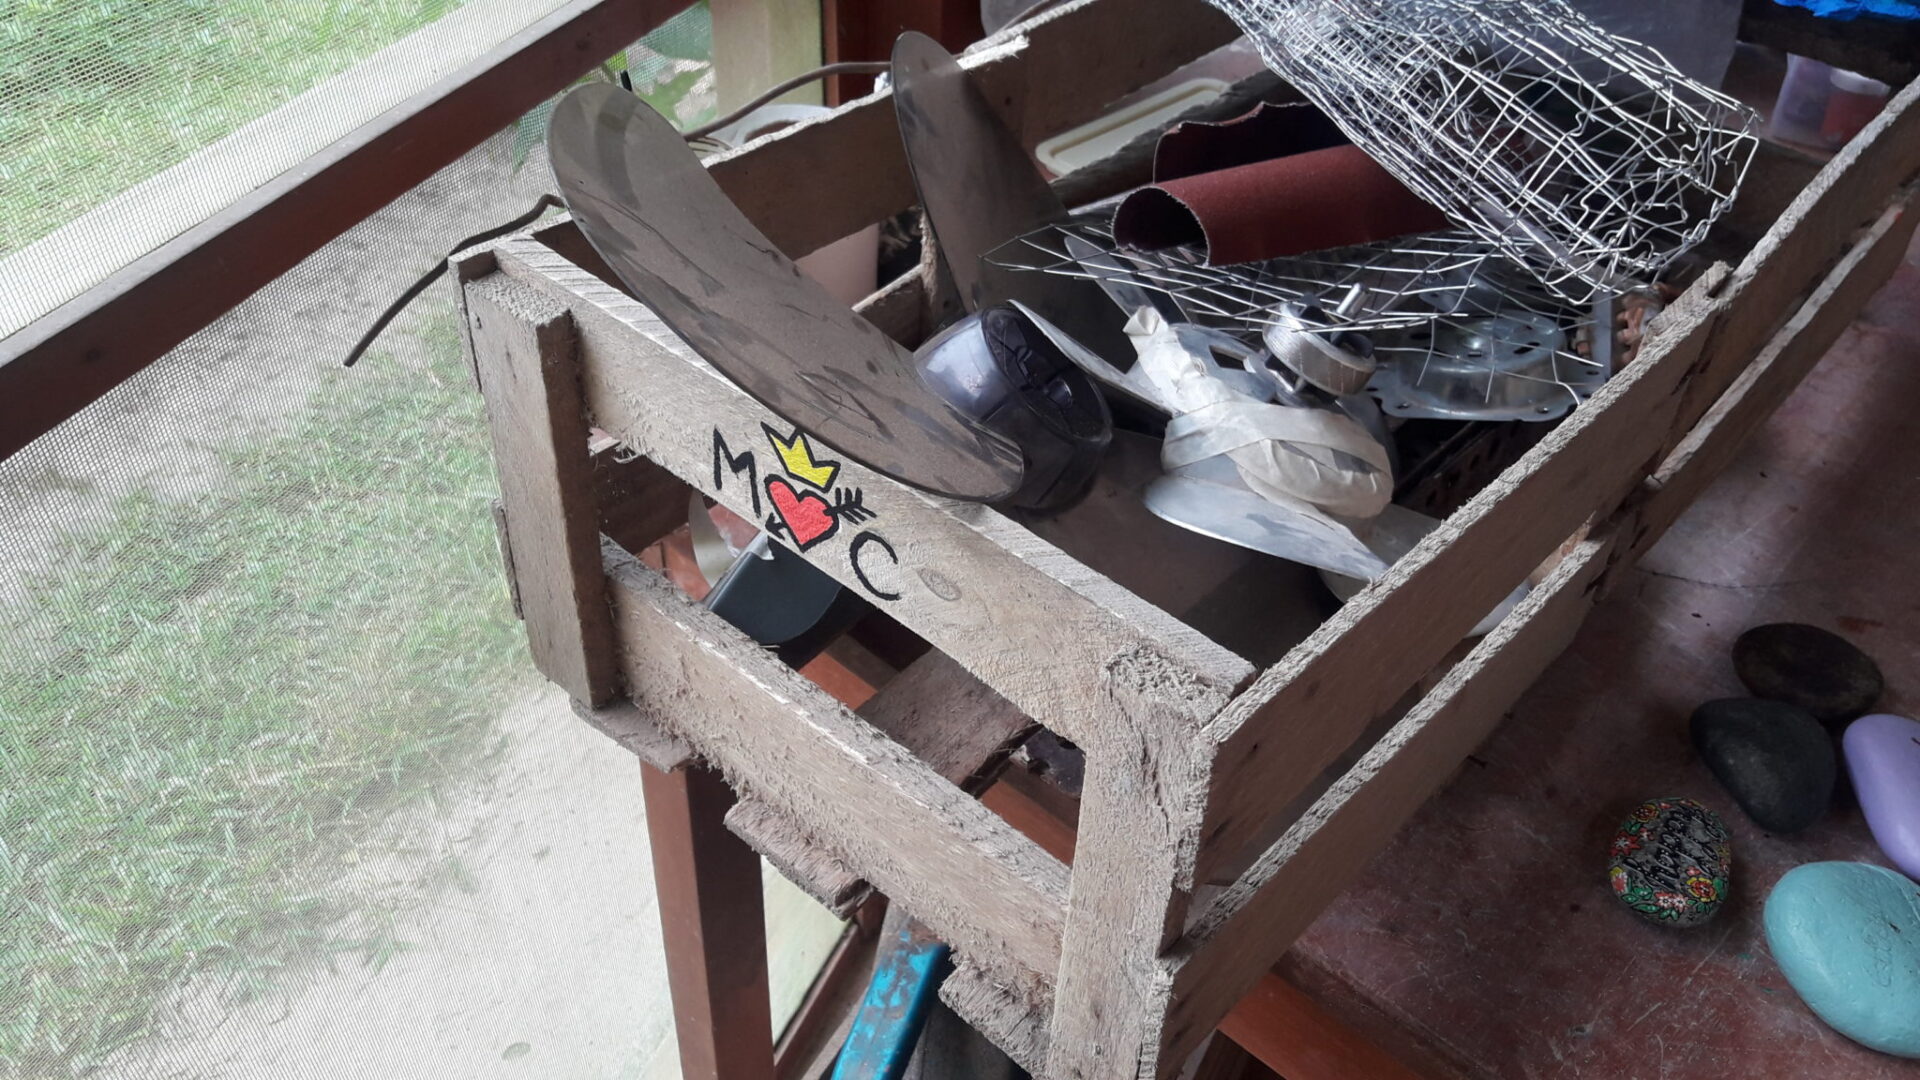
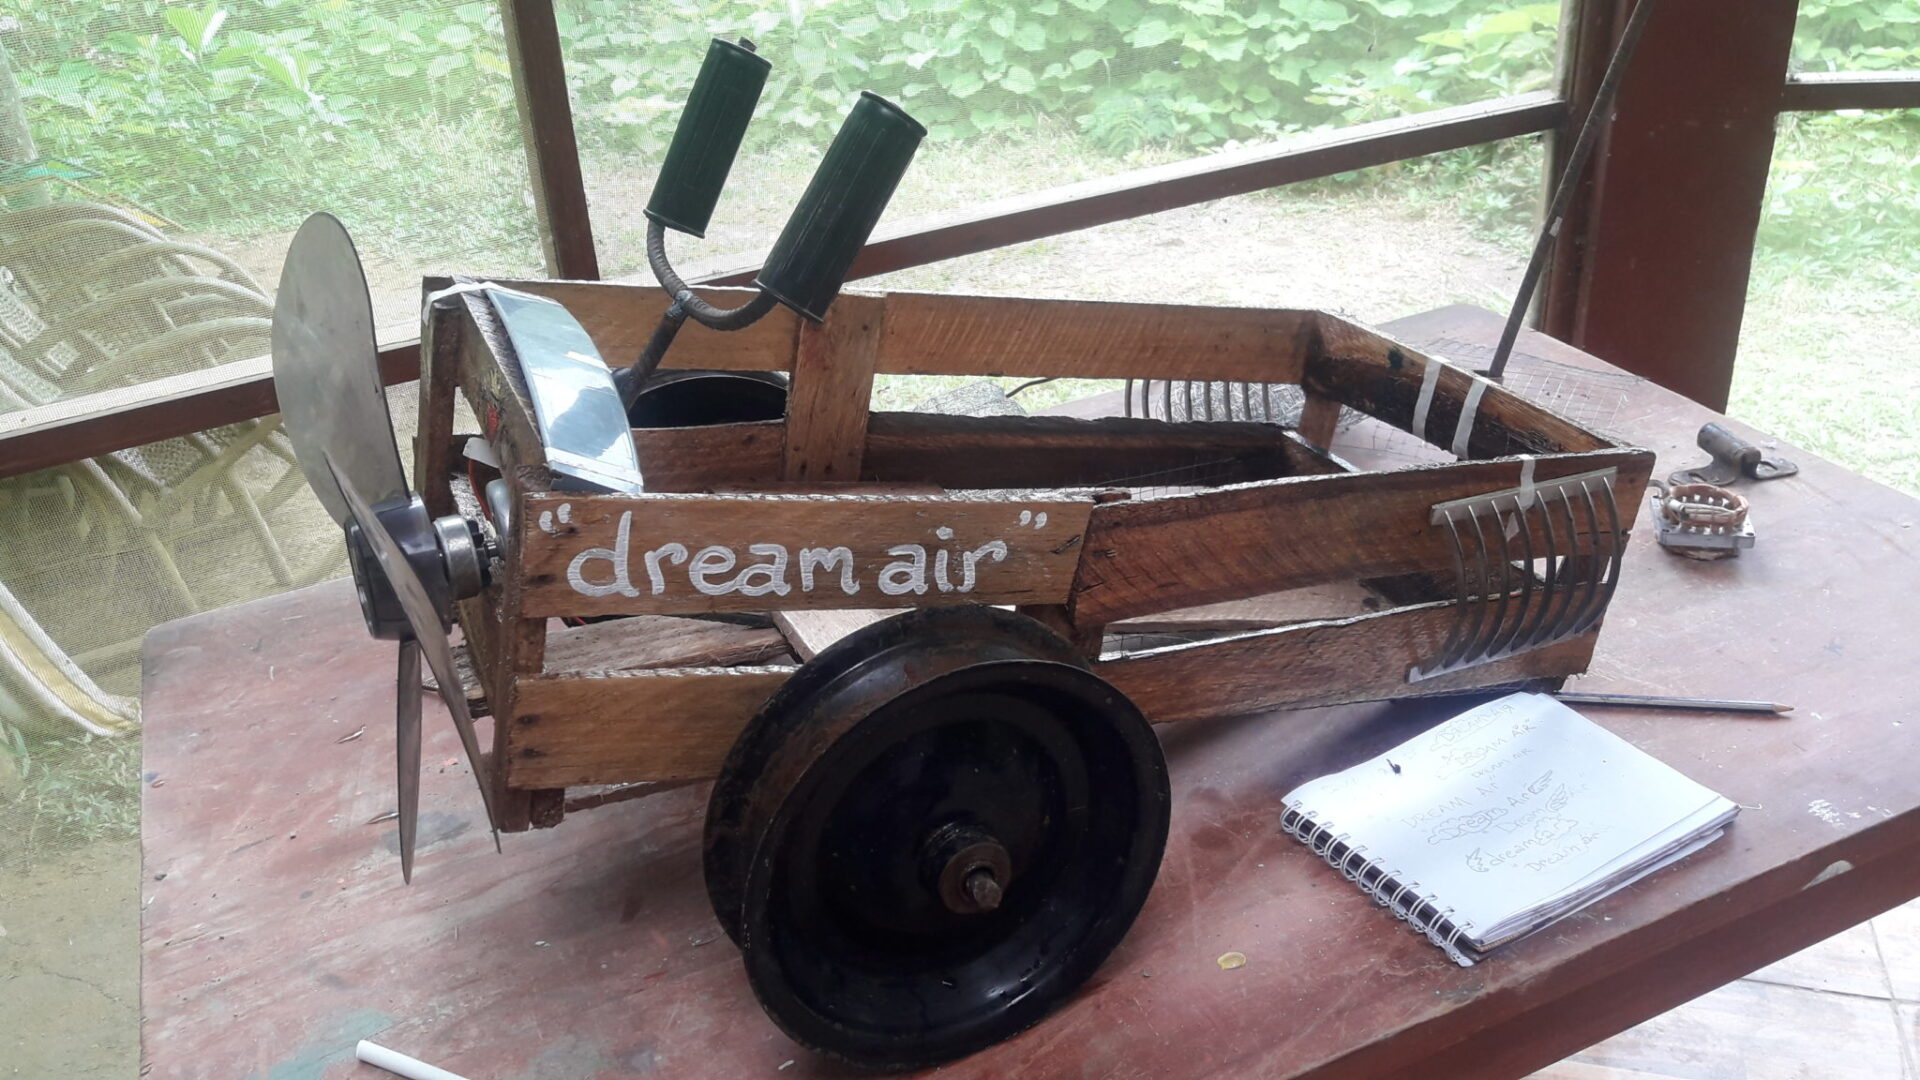
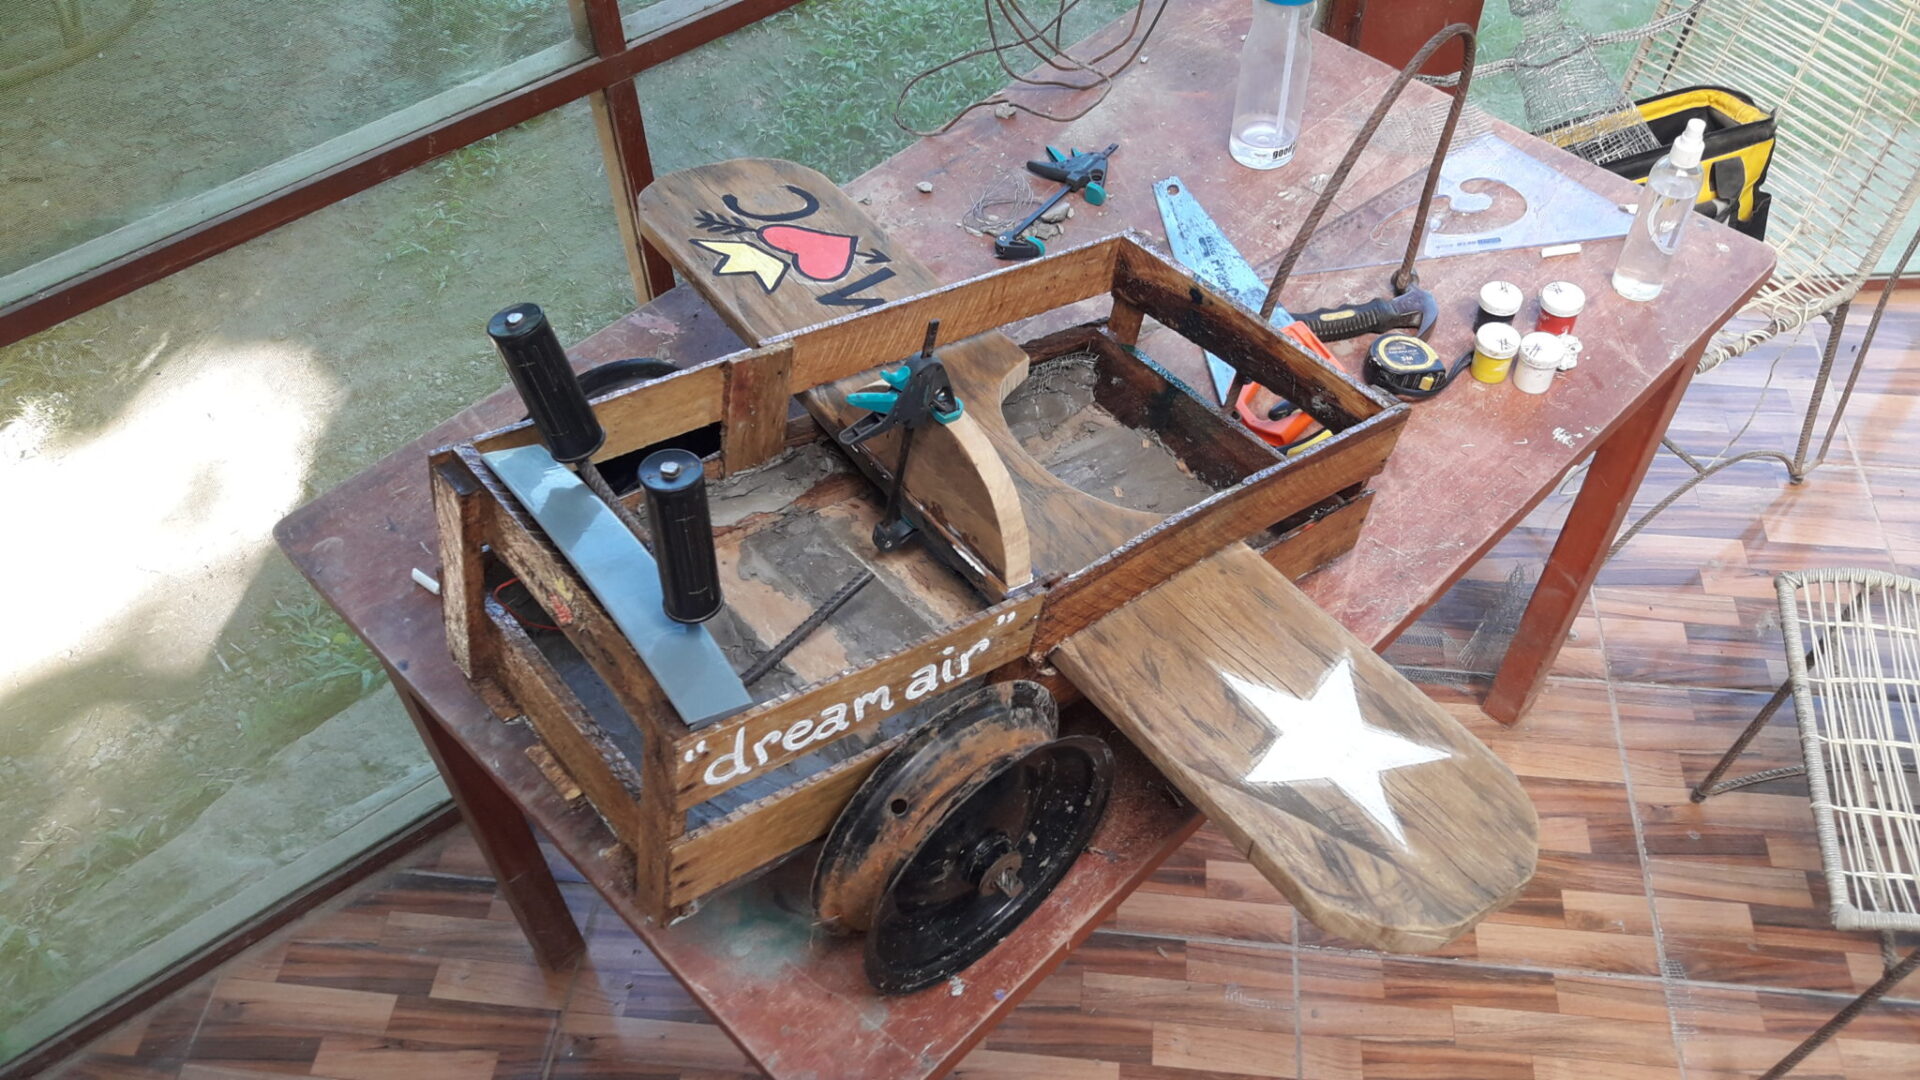
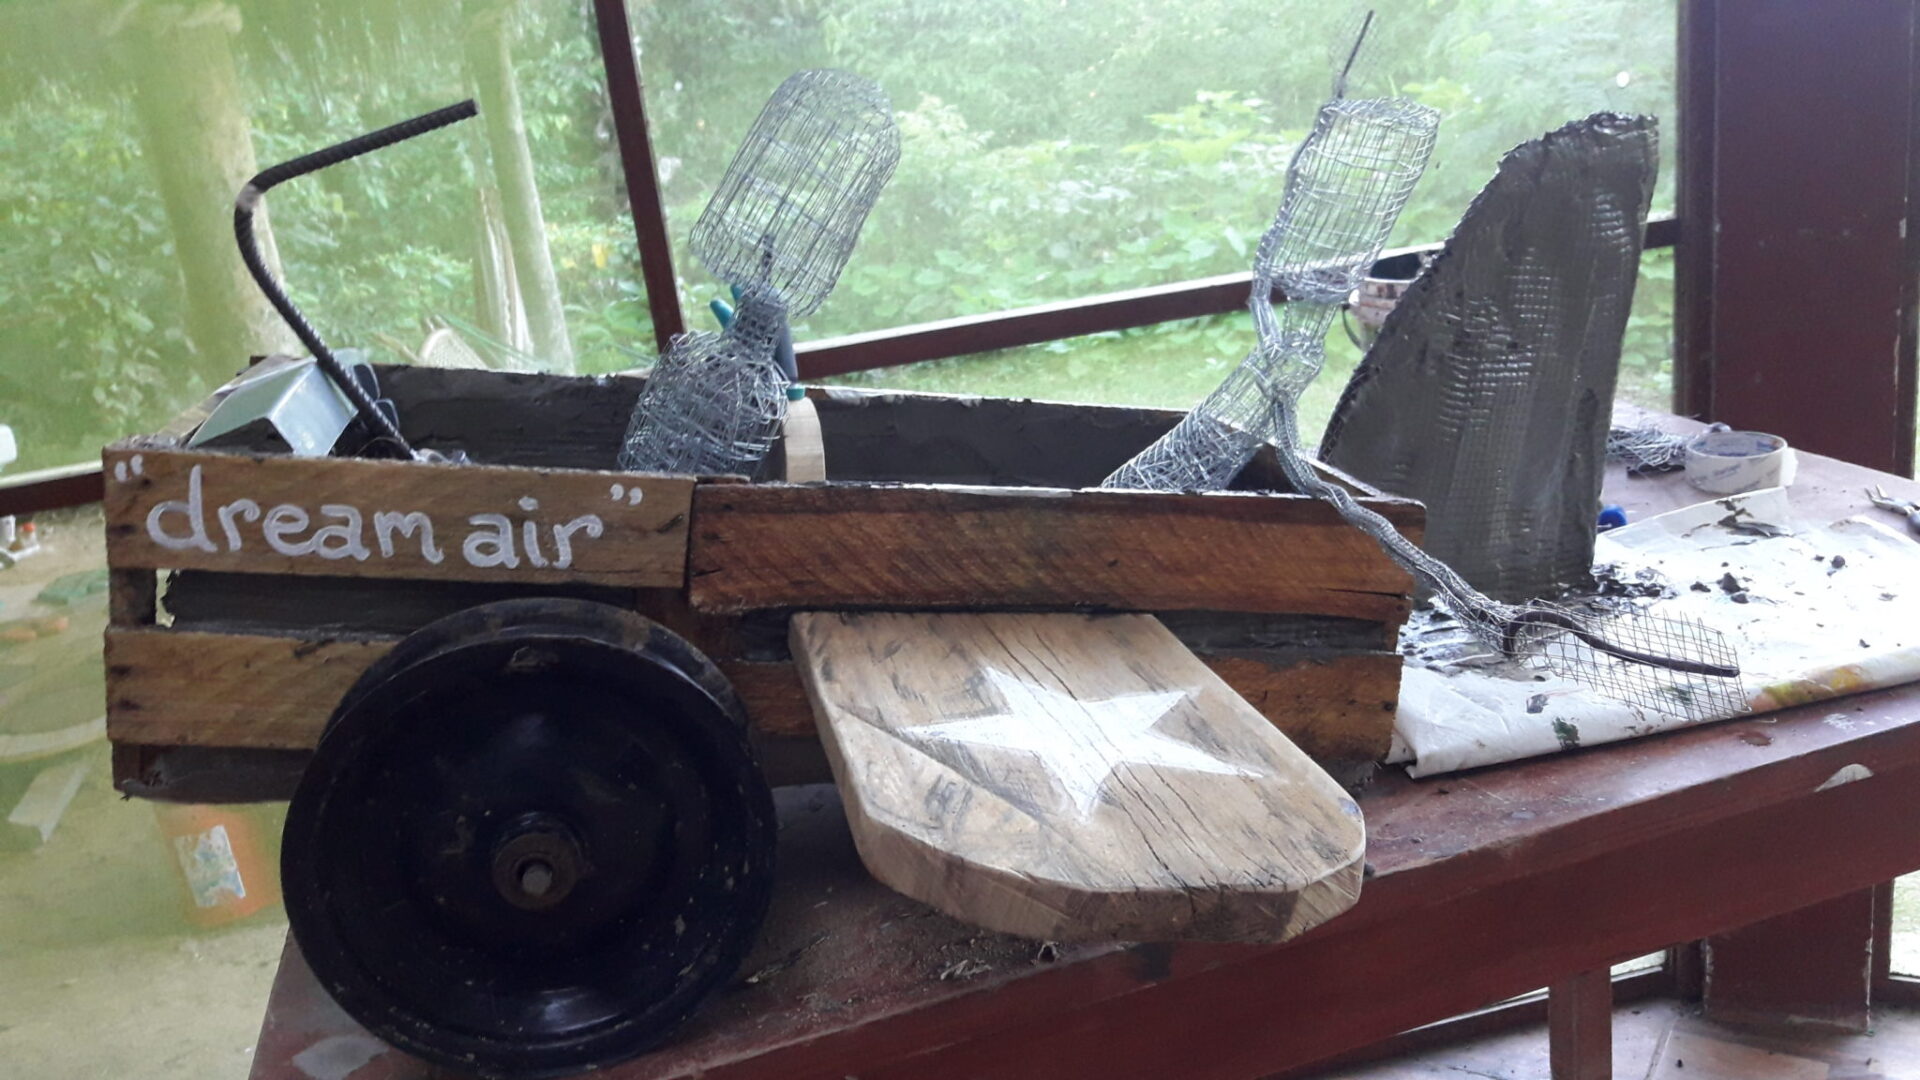
I knew I wanted to use different materials, including concrete, old “garbage” and wood. I was excited to do the project with Caroline. I was blown away by the first statue she did. She is seriously good and has an eye for art. We did a quick sketch for inspiration, started to gather stuff we needed, like boxes out of wood, rebar, concrete and hubs from old wheel barrels. I felt like a little kid building the plane, truly exited, happy and joyful. With every new piece I found for the plane puzzle my excitement grew. Like when you find a propeller that was disguised as a broken air fan to be thrown away! Or how the plastic instrument panel just happened to fit perfectly inside the box. It´s like they were waiting to be a part of this sculpture!
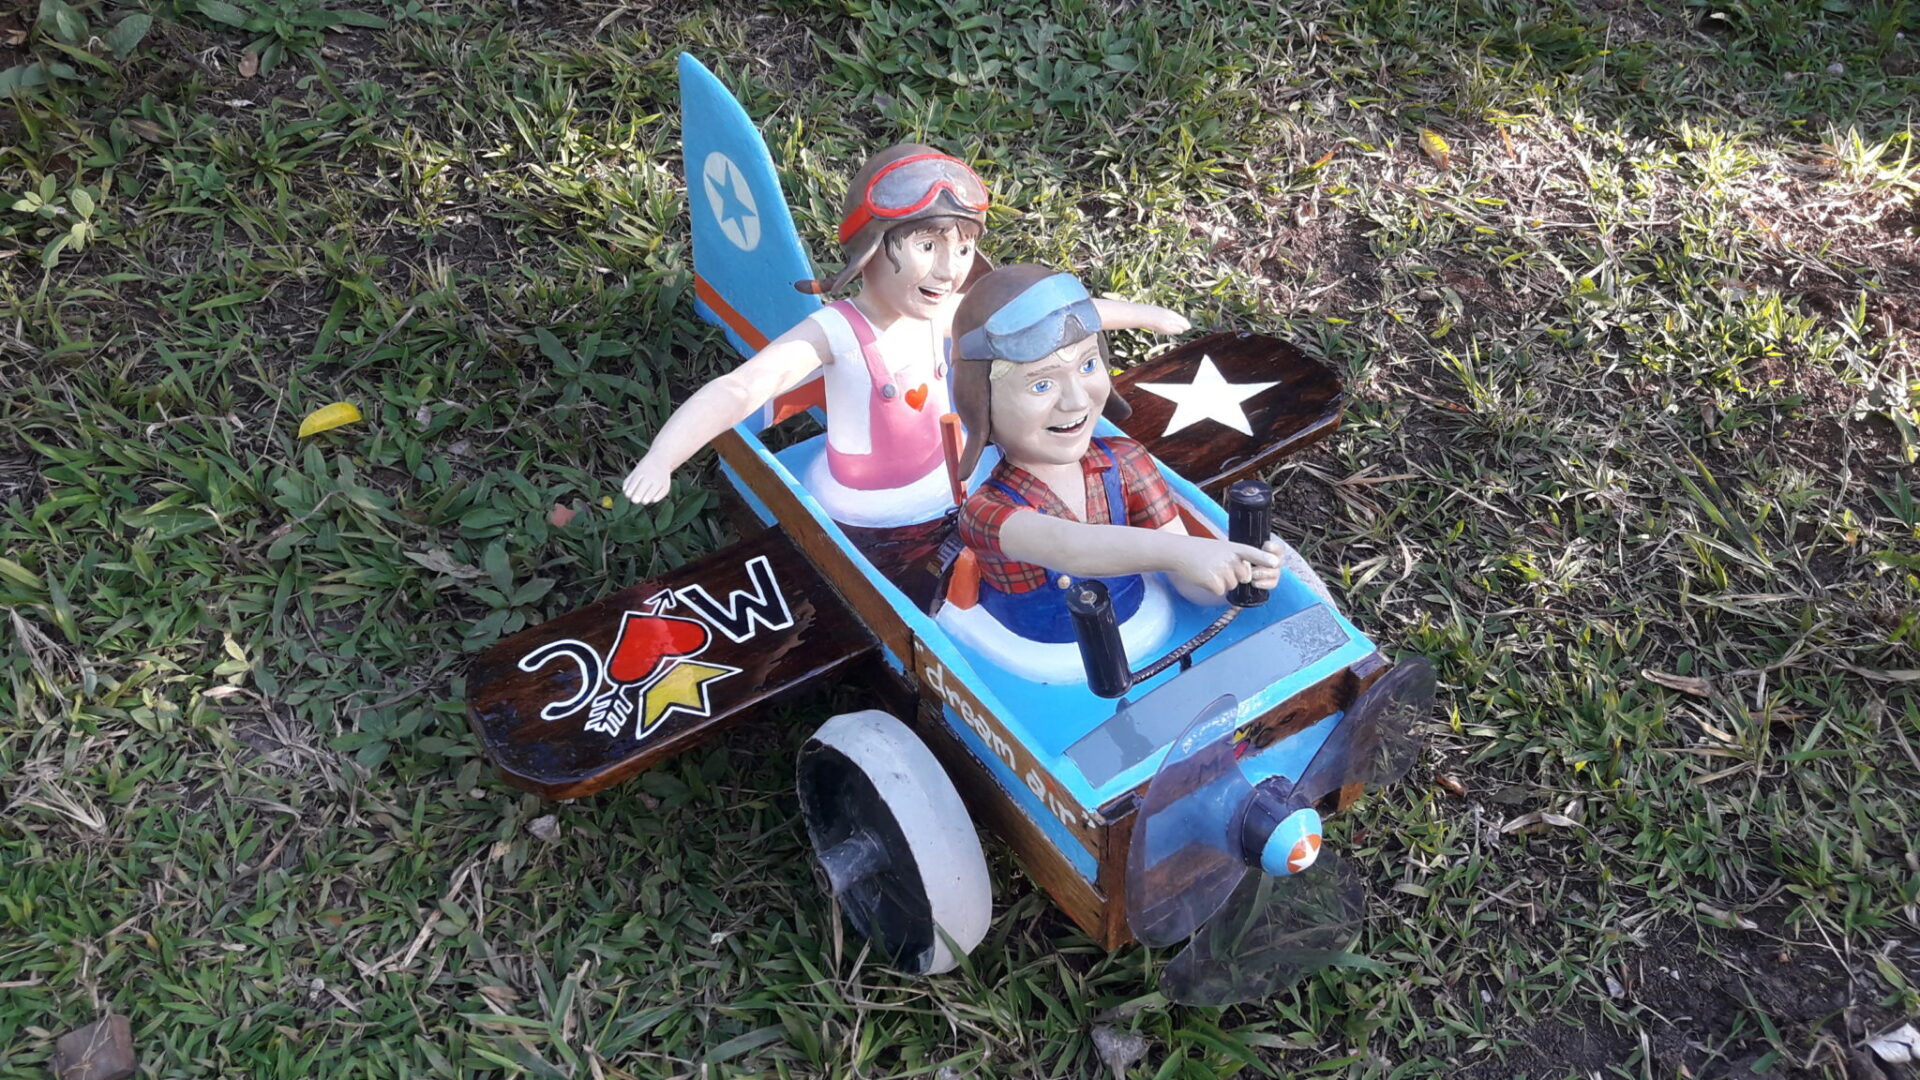
In the beginning, Caroline and I had to figure out how to work together, I have my way of working and she hers. We had some minor issues in the beginning, as usual me not communicating to the best of abilities. But as soon as I gave her a clear plan, everything worked well and we really grew together as a couple and artist team. We even have our own logo, the M heart C with a crown, that is painted on the wing of the plane.
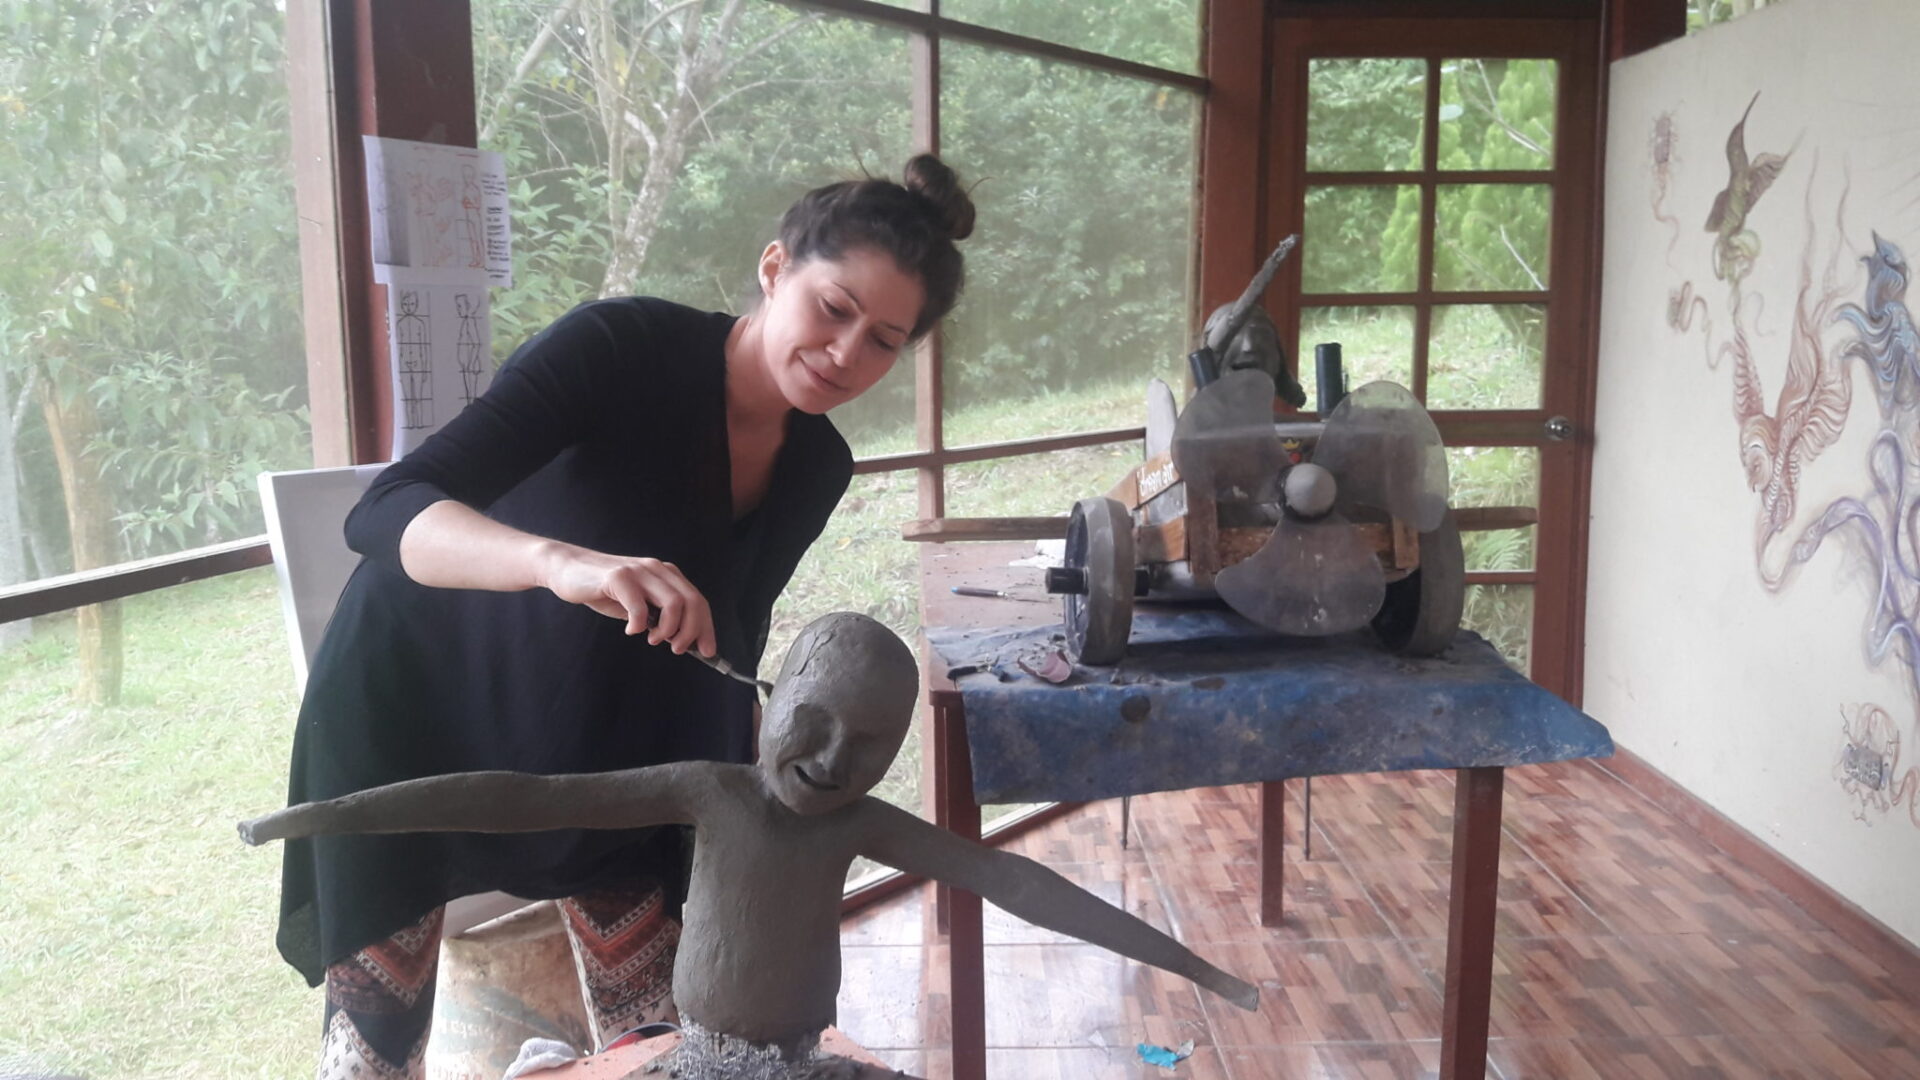
Caroline built the bodies with mesh and started with applying concrete on the little girl. She worked as if she had been doing this her entire life. It is so interesting to see all the people that come here to TierraMitica, that basically have never sculpted before, with just a short introduction of how to go about with the mesh and how to mix concrete, they all make absolutely amazing art. It's not just Caroline, it is every single one that has ever come here to sculpt. And I was particularly proud to watch my woman in her natural element with art. It is so interesting what we believe about ourselves and what we can or can not do. What we prove here is that absolutely everybody can do anything and that everybody is a great artist.
In some weird kind of way I felt like my father, and my grandfather and little me over and over again when I was building it.
I had moments where I felt my father, as he was gifting me a toy air plane, I felt my grandfather as he would have built me this type of plane, and I felt the excitement of my little boy receiving this gift from my father or grandfather. Memories of my grandfather carving boats out of tree bark , and the time he built a big toy airplane hangar out of wood came flooding back into my mind, bringing a big smile to my face as I worked on the project..
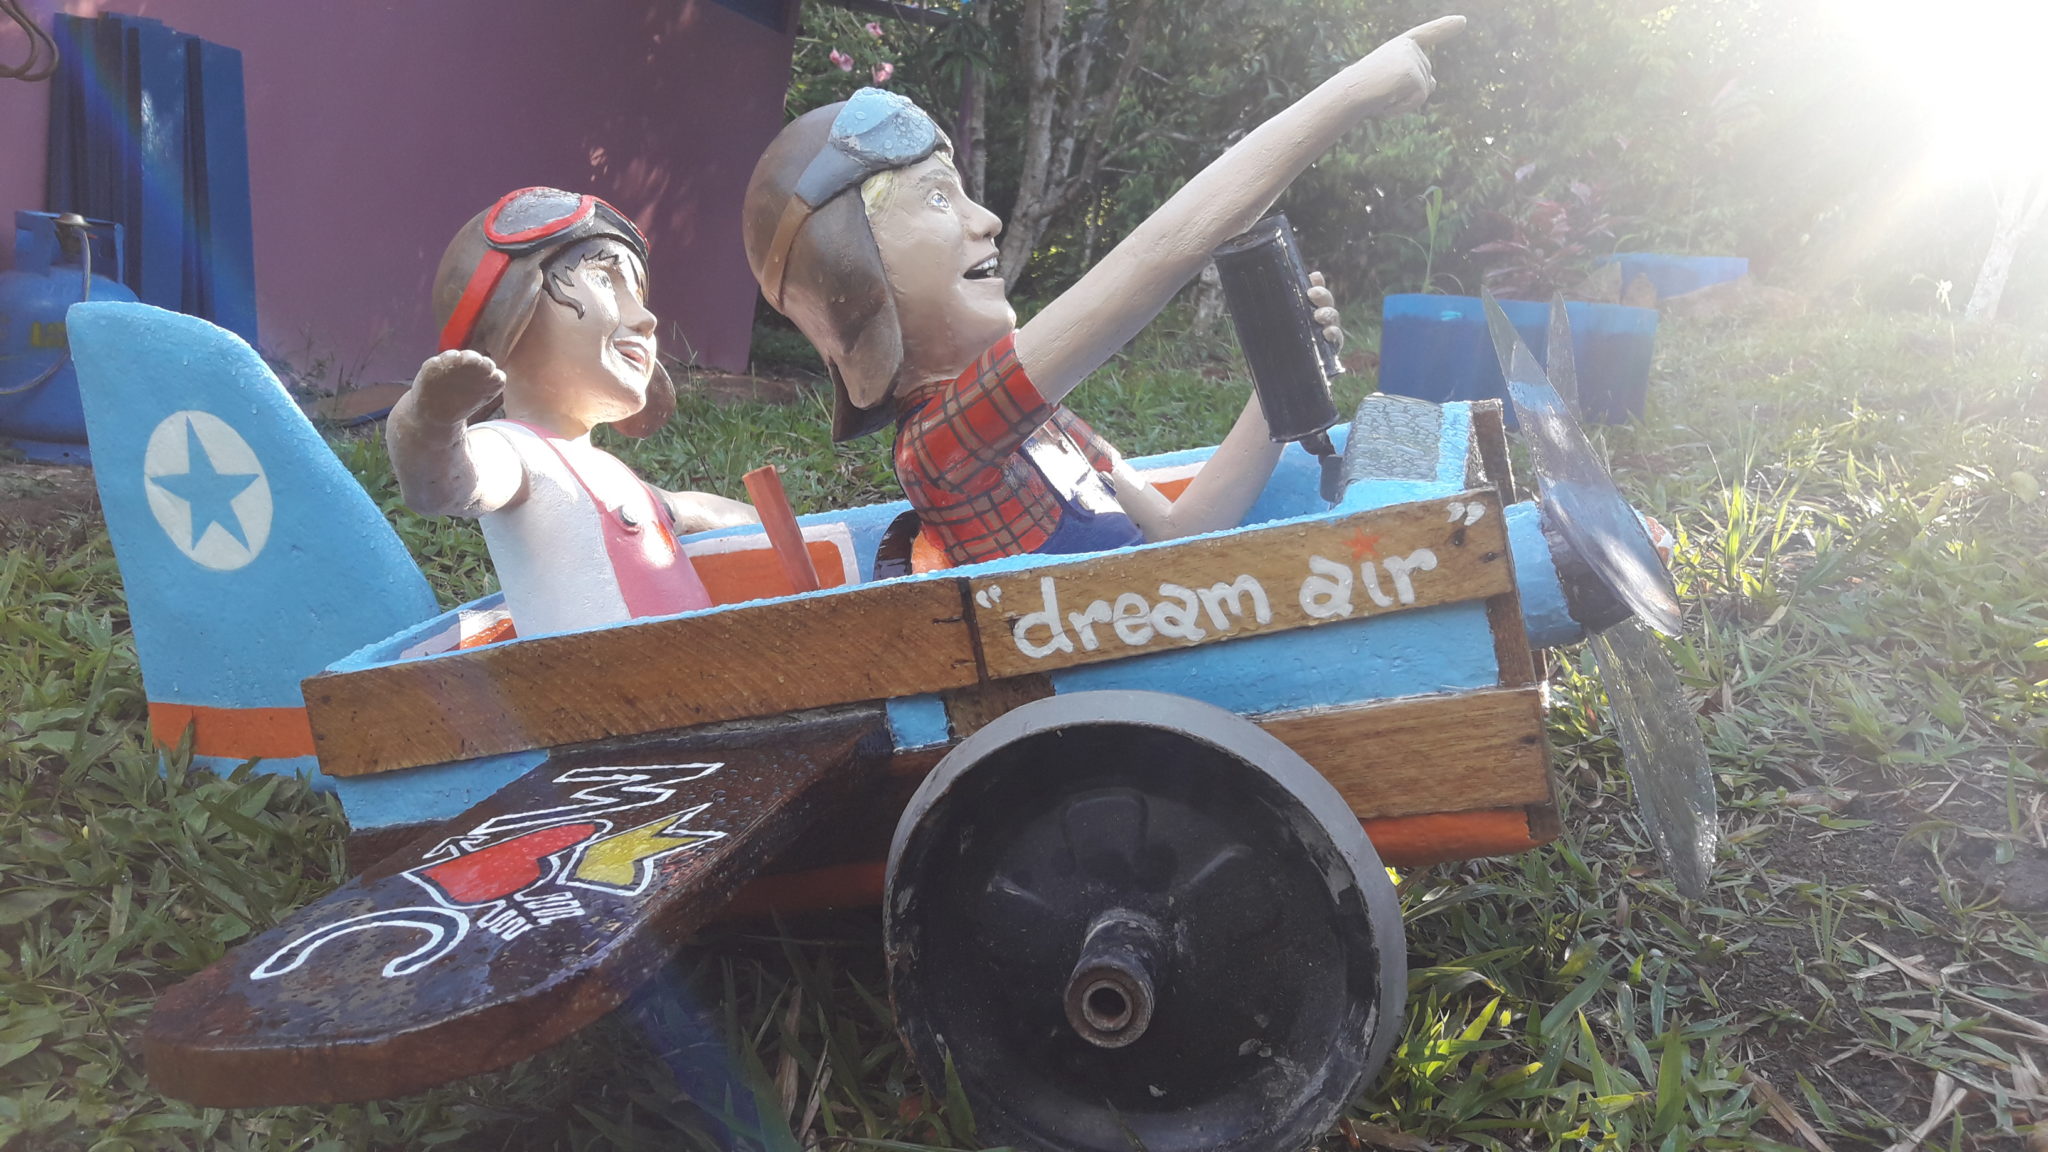
It also was really fun for me to share this experience with Caroline and feeling her little girl having fun. We exchanged ideas, memories and even photos of our childhood together. The time came to give our plane a name. The name of the plane was also going to be the name of the art piece itself. At first we thought of “Fantasy flight”, but it was too damn long to write on the side of the plane. Then an idea came to me to name it “Dream Air”, which also when spoken, sounds like “dreamer”. It came to me because on this project, I got to dream like a little kid, have fun and not worry about making things perfect. When imagining the colors of our dream air plane, a classic baby blue and orange old toy race car came to mind. It was my favorite toy as a kid. We sculpted classic children's overalls for each of our little kids. Caroline chose pink for her little girl's clothing, and when I thought of what to paint for my my little boys clothes, I recalled a time when I used to wear a shirt that was checkered red and my little blue jeans overalls. The helmets we both felt should look like old leather and we even decided to give the kids goggles. Clothes aside, the energy and feel of “Dream air” was the most important. We wanted to inspire dreaming, joy, adventure, and playfulness together. And doing art together is amazing, to get to share thoughts, enthusiasm, ideas, work , colors and the fun of making itself, especially with Caroline was great fun! Try it! It´s a connection like no other getting to flow together through artistic expression on another level. Great stuff! I'm really super proud of our “Dream air”plane! Now we are flying off to new adventures and more sculptures in the future!
Written by Metsa
10 Tips on how to build your own sculpture! 1. Have fun and come up with an awesome idea that makes you FEEEEEEL! 2. Gather inspiration, like pictures from the internet. Make your own mood board of things you like. Print the ones you like most out on a paper and have it next to the project. 3. Gather materials, like old used plastics you think will fit. Mesh and concrete. Whatever. 4. Make a quick sketch of your project. 5. Gather tools, like a grinder, different pliers for the mesh structure, sculpting tools, paint brushes and paint. Use a mask if you need to sand the concrete. 6. Get started! Build the structure out of rebar and mesh. It is easier than you think! 7. Add concrete, keep going until it looks good. 8. Let the concrete cure for a couple of days, wet it down once in a while. Then add a sealer. 9. Paint. We use latex colors, if it is going to be outside in the sun, don’t bother varnishing it. Also if you want to use white, dilute it with 1/7 of water for it not cracking later. 10. Install your piece of art and be proud of what you made!Metsa

